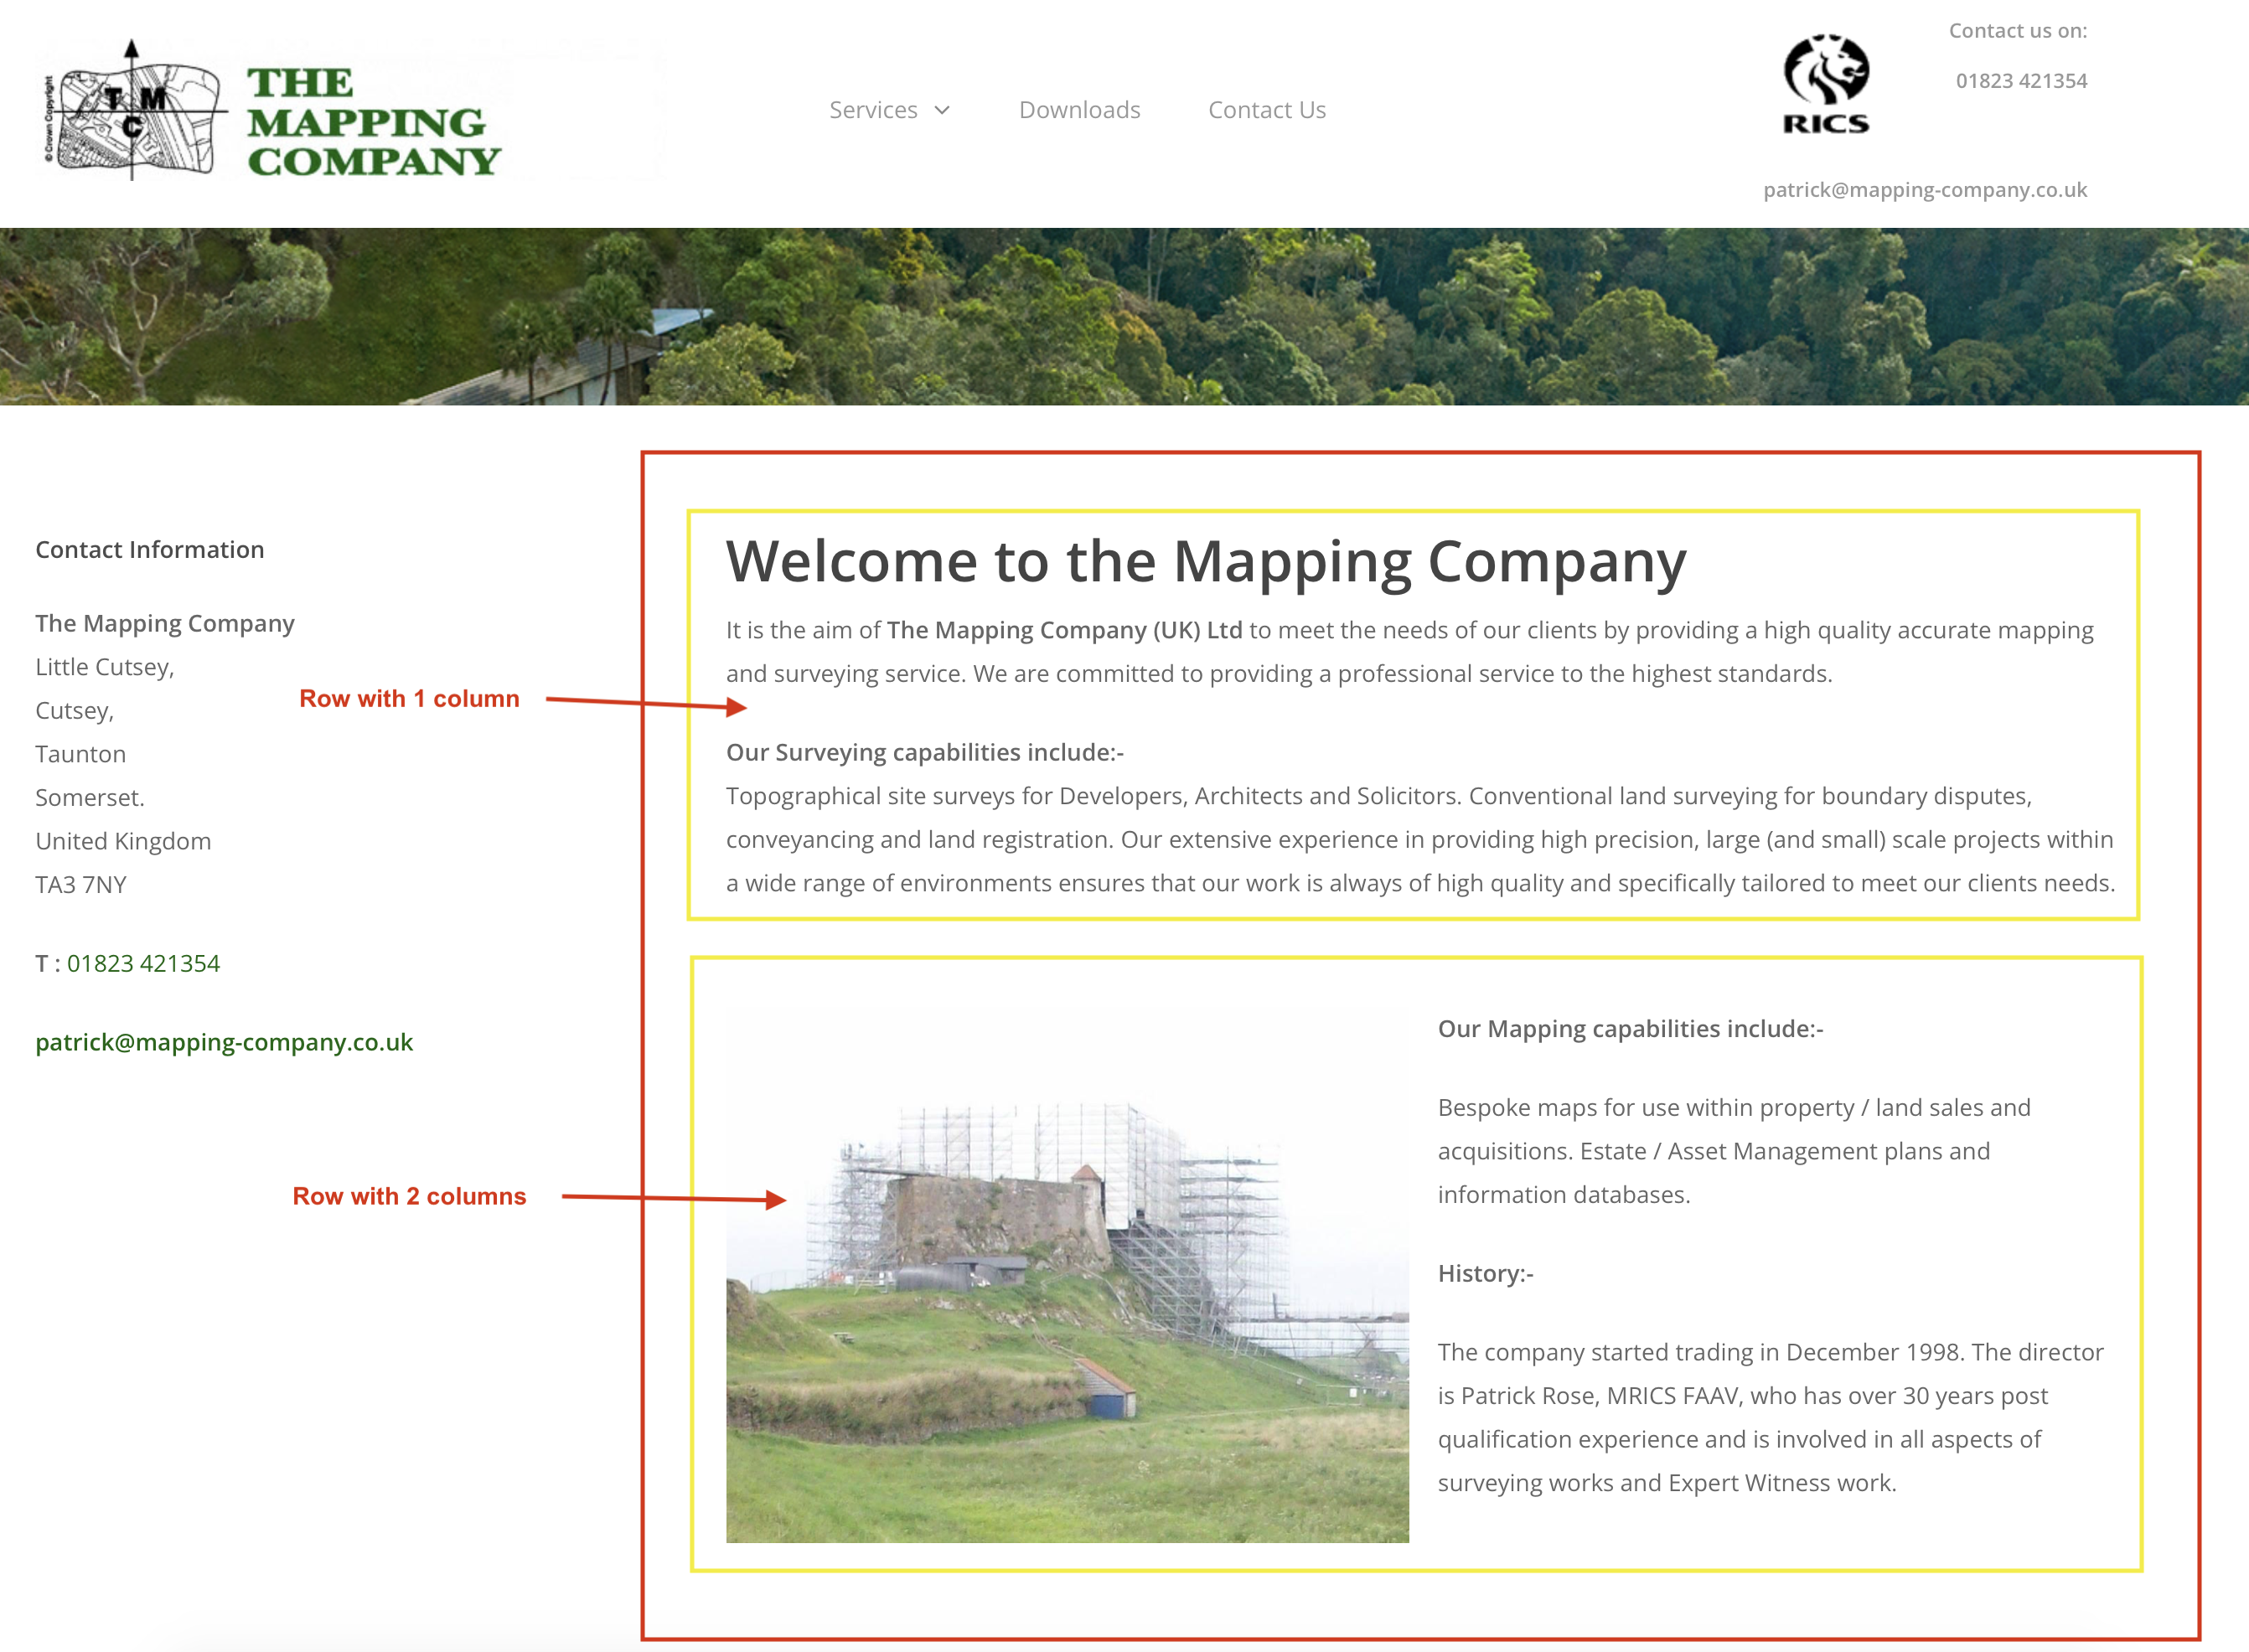
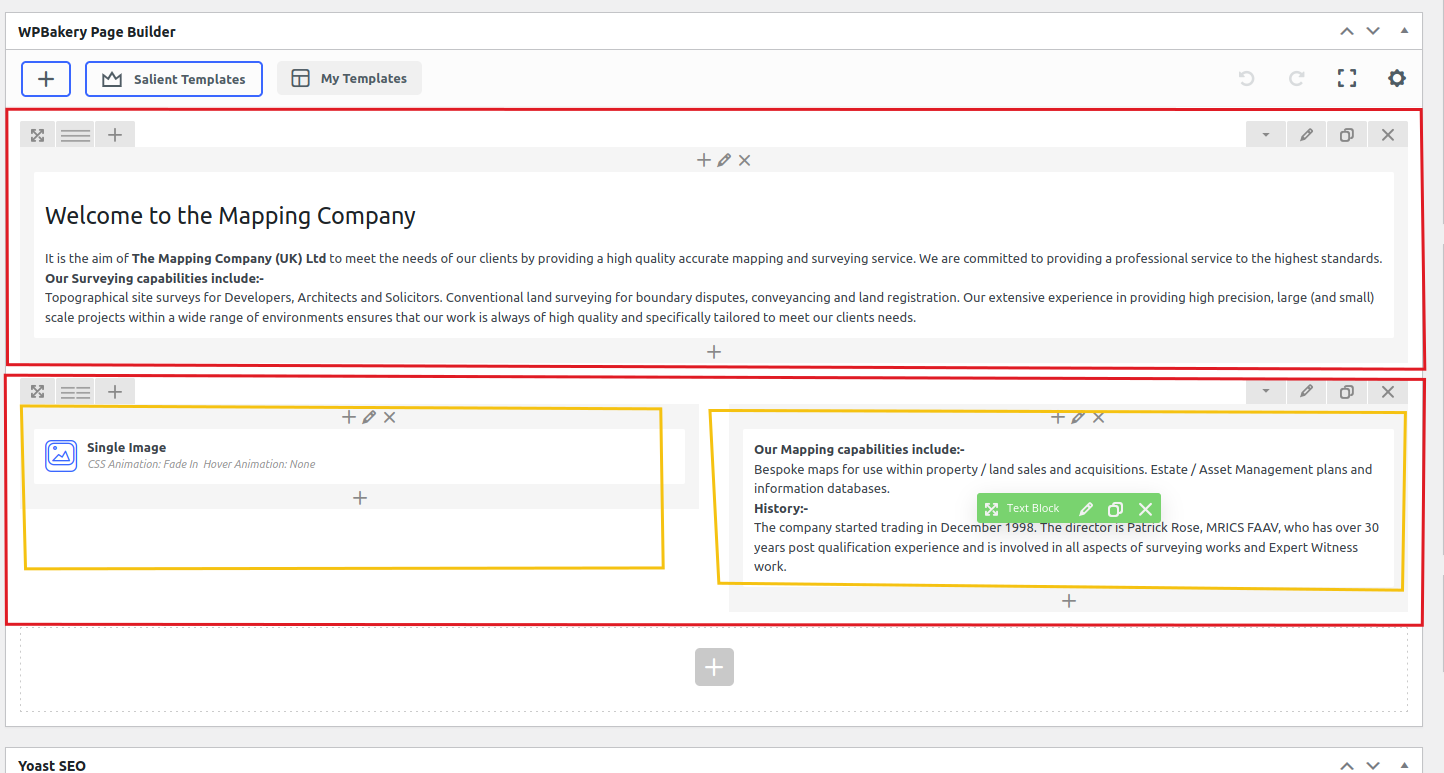
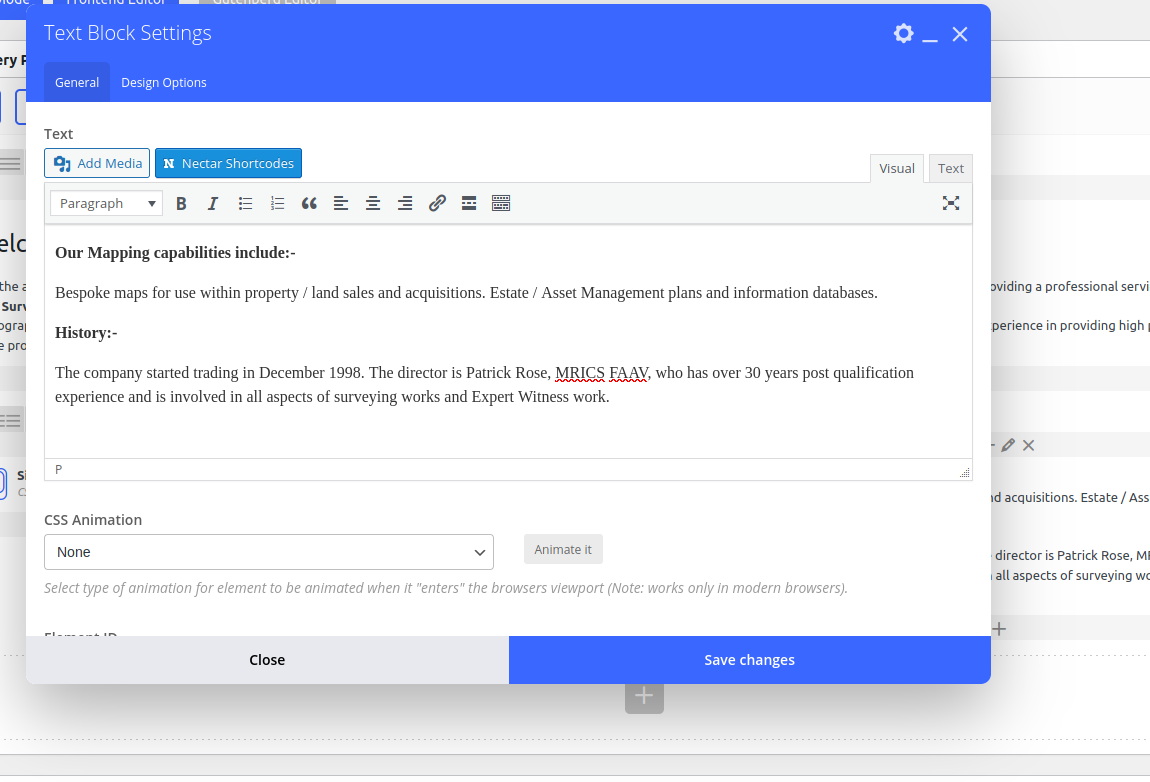
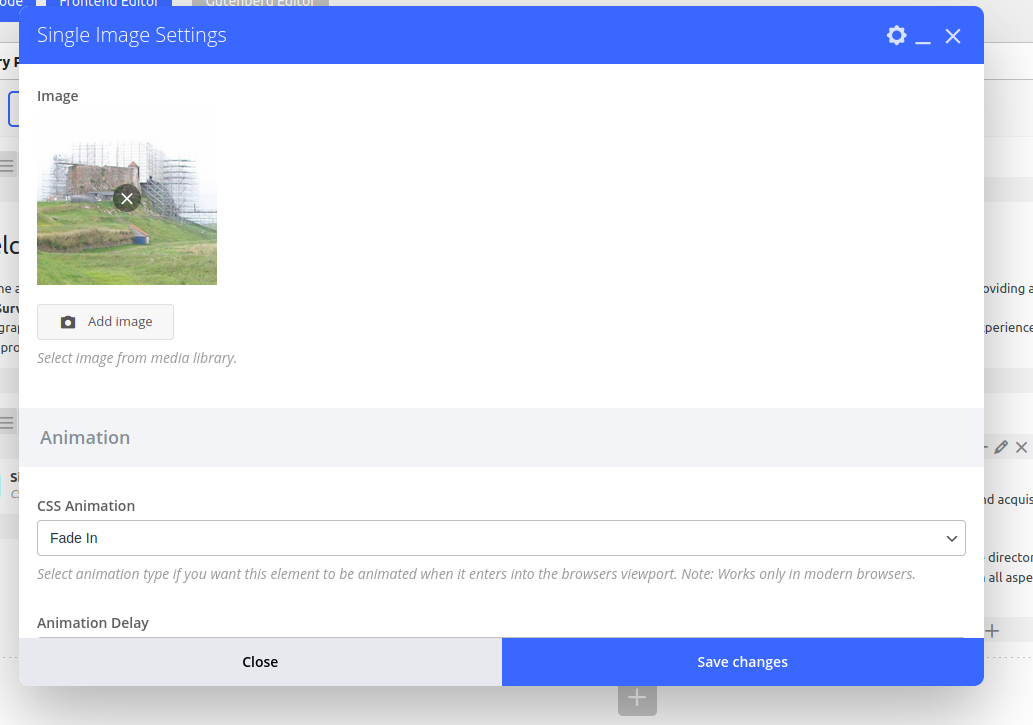
This is a quick guide to editing pages using the WP Bakery Page Builder. The basic idea is that each page consists of a number of rows, and each row can be divided into one or more columns. Then each column within a row can be filled with content – images or text. A very simple page could just be one row of one column, full of text. The height of the row is not fixed – it will adapt itself to the amount of content. As an example, the Mapping Company home page consists of 2 rows. The first row is one column of text. The second row is 2 columns – one column with an image, and one with text. The benefit of the row/column layout is that the page displays well on devices with all different screen sizes.

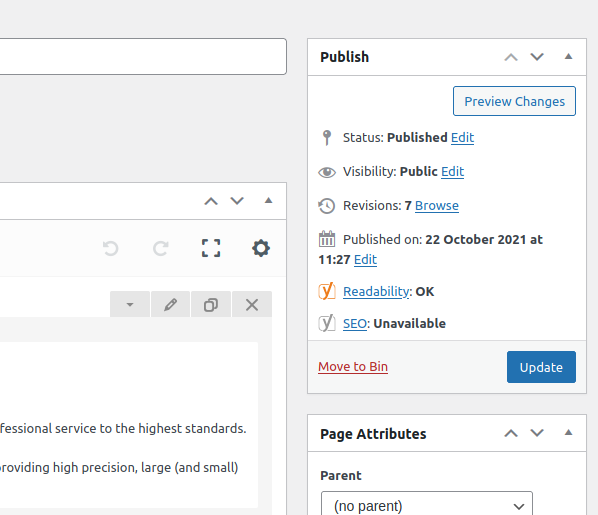
Note that the page header and the left hand sidebar are separate from the main content of the page. If you choose to edit the Home Page, you will be editing the area enclosed in the red box in the image to the right.

Further information about the WP Bakery Page Builder can be found on the Salient theme website, here.

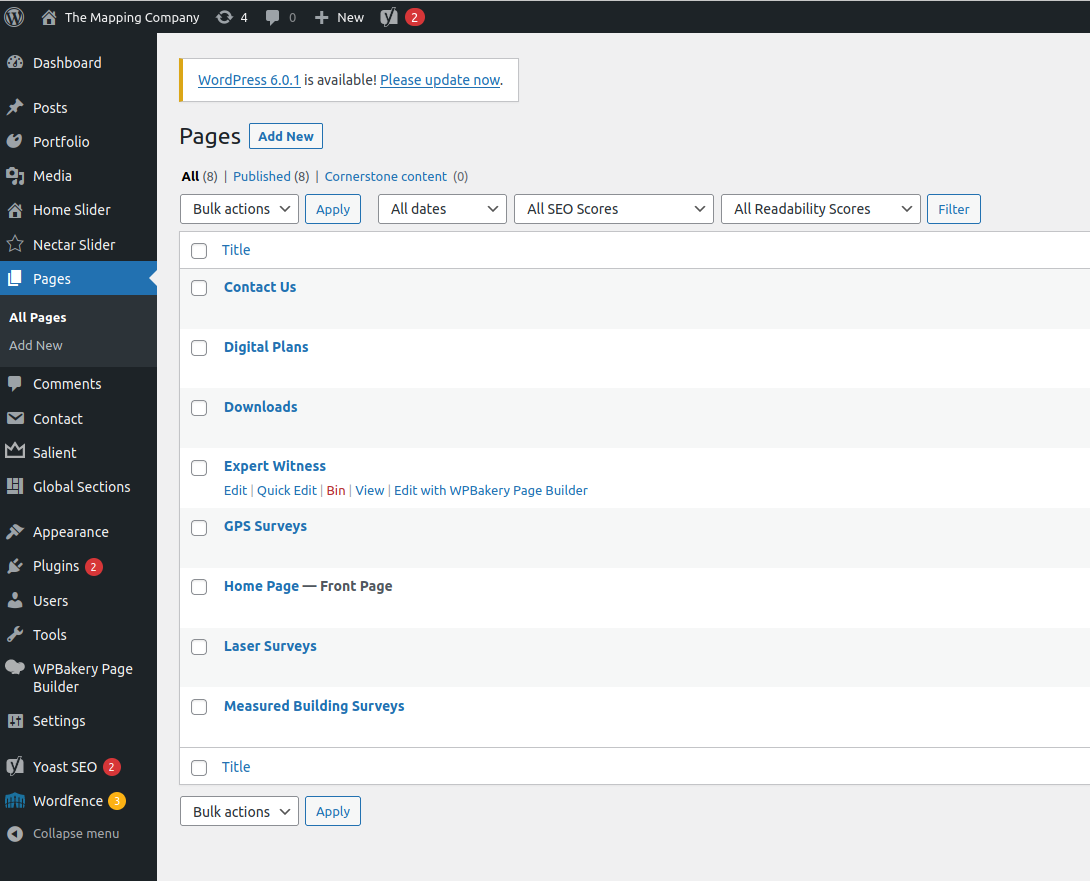
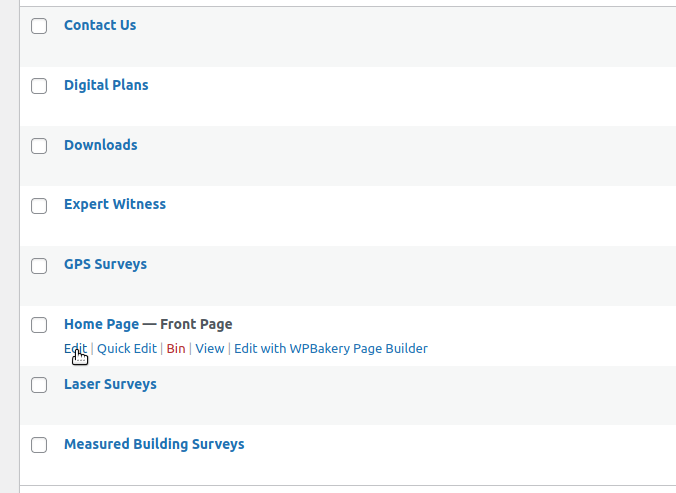
To start editing a page, log in to the WordPress admin, and follow these instructions:

1. In the sidebar, select Pages. This will open a list of all existing pages.

2. Hover your cursor over the the title of the page that you want to edit, and select edit from the list of options that appears.

3. The editing page. The layout corresponds to the 2 rows of the home page. Hovering over the element that you want to edit causes a green toolbar to appear. Click on the pencil icon in the green bar to edit that element.

4. Clicking the green pencil icon opens an editing box. Make changes, then click the ‘Save changes’ button.

5. Images can be changed in a similar way: hover over the box that says ‘Single Image’, click the green pencil icon to open an editing window. Click the cross in the middle of the existing image to remove it, the click the ‘Add Media’ button to open the media gallery.

6. Media gallery. If the image that you want is in the gallery, click it to select, then click the ‘Set Image’ button bottom right. This takes you back to the image editing window (point 5 above). Click save changes. If the image you want is not in the gallery, click the Upload Files button to upload images from your computer. When the new images have been added to the gallery, select and Set Image as above.

7. Preview changes. After making edits, hit the ‘Preview Changes’ button in the right-hand sidebar. This opens a frontend view of the page in a separate browser tab, so you can check that everything looks OK. When you are happy with the changes, hit the blue ‘Update’ button, also in the right-hand sidebar to complete saving your edit.